On this page
How to start THE TSUNAMI GAME
Your first goal in THE TSUNAMI GAME is to bring a collectible home. Start in the zone you can currently access, then carry the item back to your plot so it can generate money. A more valuable pickup deep in the lane does you no good if the return trip fails.
The official description's loop is simple: collect items, upgrade your plot, buy weapons and rebirth. Treat the first run as learning that loop rather than racing to the end of the map.
- Orient yourself in the safe zone. Find your plot, the lane exit and the shops. The community NPC guide places Carry Guy on the right side of the shelter exit.
- Enter the Common zone. Higher rarity zones are locked behind rebirth milestones. Look for the Collect prompt beside an item.
- Pick up and return. On a keyboard, use the displayed E prompt. On touch screens, players report needing to tap the small E square; see pickup help.
- Build income before stretching the route. The plot's item upgrade arrow increases an income-producing collectible. Blue means an upgrade is available; the community guide describes yellow as fully upgraded.
- Recheck the wave preview before another trip. Identify a nearby trench or shelter, then choose a return path as well as an outbound path.
What should you spend on first?
| Purchase | What it changes | When to consider it |
|---|---|---|
| Collectible upgrade | That item's income | When it improves the income you will retain after rebirth |
| Speed | Travel through the lane | When your current route is too slow; remember it resets on rebirth |
| Carry capacity | Number of pickups in one trip | When one-item trips are limiting you and you can return safely |
| Weapon | PvP or boss combat | When you actually plan to fight during this session |
| Severity change | Server conditions | When you have a specific target, such as the Secret hunt |
There is no evidence-backed universal purchase order for every plot. Compare the live cost and income gain before spending. The item upgrade calculator turns those two readings into a simple payback time.
Read the lane, not just your speed
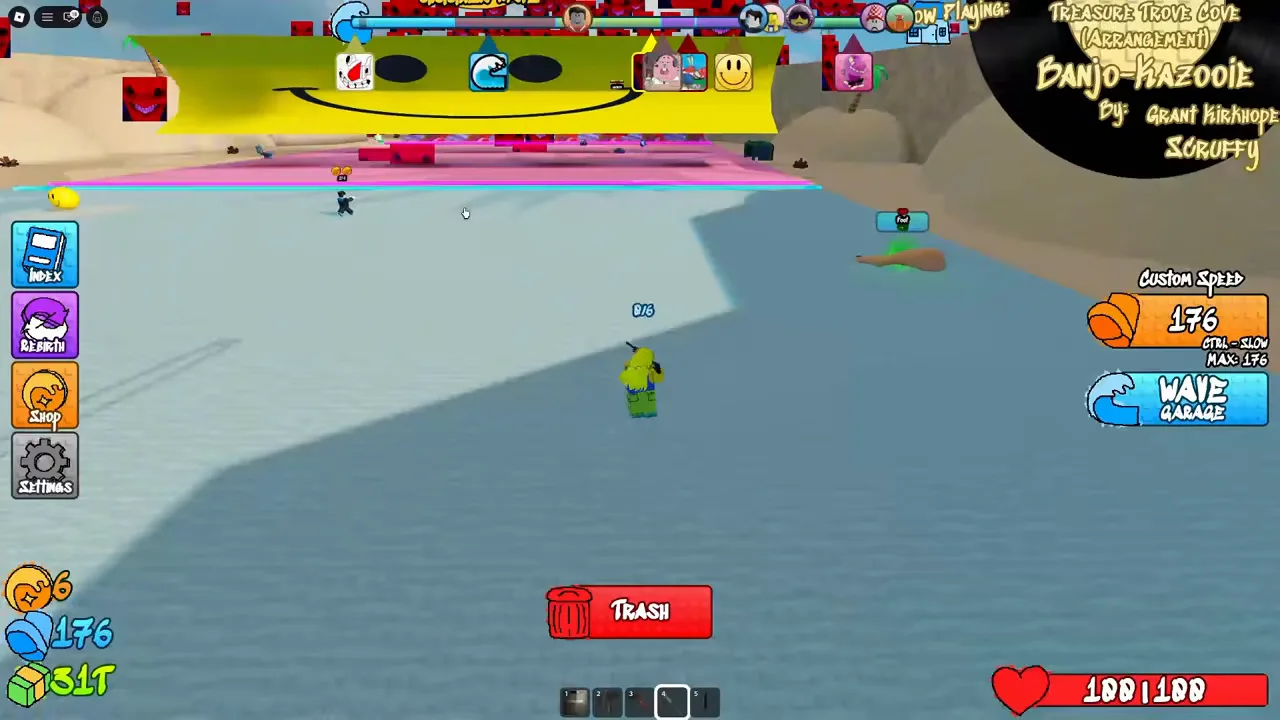
The upper wave preview shows incoming hazards in the inspected gameplay. Trenches and wall recesses offer places to plan a crossing, but the correct response depends on the wave. Hole In The Wave can hit cubbyholes; its community page recommends the trench instead.
Acrid Wave is a documented healing exception. Bricks Wave sends you to The Battle Bricks. A boss fight can reach into the shelter area, as the Totario footage shows. These are reasons to learn the named waves and exceptions, rather than assuming every orange wall or safe-zone entrance protects against every attack.
Ready for your first rebirth?
Open the game's Rebirth panel and read the requirement shown for your current level. This wiki does not substitute an old video's speed target for your live requirement.
Before confirming, check and collect money at your plot, then spend useful remaining cash on collectibles you intend to keep. The community Mechanics page says rebirth resets cash and speed while retaining collectibles. The NPCS guide's Rebirth 1 hint specifically includes cash at your plot in the loss. R1 opens Uncommon access according to the official badge description.
After rebirth, start from that retained income and your new zone access. The rebirth checklist explains the full rarity ladder, what resets and the R6/R10 milestones.
A realistic first-run checklist
- I know which plot I am returning to.
- I have returned a collectible rather than only picked one up.
- I can find a trench and read the incoming-wave preview.
- I have compared an income upgrade with another speed purchase.
- I have read my own Rebirth panel before confirming.
Next: Understand rebirth resets · Compare collectible income · Look up a wave
Sources
The official game description establishes the loop. Community Mechanics, NPCS and Collectables supply shop, reset and upgrade details. Source check: September 16, 2026.